Handling Merge Conflicts
As you saw in the previous section, pulling changes from a remote repository can sometimes lead to merge conflicts. A merge conflict occurs when two people make changes to the same line of code in a file, and Git doesn't know which change to keep. In this section, we will spend some time learning how to handle merge conflicts.
This video will show you how to handle merge conflicts:
Show/Hide Video
Here is the lorem text that I used in the video to create a merge conflict:
Laudantium reiciendis impedit voluptate repudiandae dolorum voluptatibus minima nisi
laborum recusandae, atque ullam enim est? Consequatur provident quia temporibus,
accusantium labore incidunt sequi eius quae soluta blanditiis doloremque maiores,
quam maxime animi, saepe omnis. A cum dolor amet expedita minima beatae cumque
voluptatem eveniet perspiciatis deleniti, dolorum aliquam ea, alias autem quis hic
debitis? Quidem, debitis alias est quod, nulla error iste modi explicabo voluptatem
expedita ut molestias illum quibusdam repudiandae dolorum possimus omnis.
The code to resolve a merge conflict in Visual Studio Code is as follows:
git add .
git commit -m "Added lorem text"
git push # this code will fail!

# resolve the merge conflict in Visual Studio Code, then run:
git add .
git commit -m "Merged keeping both changes"
git push # this code will succeed!


Git with VS Code
If you are using Visual Studio Code, you can also resolve merge conflicts using the Source Control panel. This video will show you how to do that:
Show/Hide Video
Git with Visual Studio
Visual Studio also has built-in support for Git, meaning that you can do all of the same things that you can do in Visual Studio Code.
This video will show you how to clone a repository directly in Visual Studio:
Show/Hide Video
As you can see, cloning a repository in Visual Studio is pretty straightforward. You can also use Visual Studio to commit, push and pull changes, and resolve merge conflicts, as shown in this video:
Show/Hide Video
As mentioned in the video, the merge tool in Visual Studio is really powerful. It allows you to see the changes made by both parties side-by-side, and quickly choose which to keep.
Exercise 2
Show/Hide Video
For this exercise, you will practice resolving merge conflicts using Visual Studio Code. You will need to create a merge conflict in your own repository, and then resolve it using the steps outlined in this section.
Create a merge conflict: Choose a file in one of your repositories and make a change to it in your browser. Then, open the same file in Visual Studio Code (or Visual Studio) and make a different change to the same line of code.
Pull the changes: In Visual Studio Code (or Visual Studio), pull the changes from the remote repository. This will create a merge conflict.
Resolve the merge conflict: Use the steps outlined in this section to resolve the merge conflict. Make sure to keep both changes, and commit the changes to your repository.
Push the changes: After resolving the merge conflict, push the changes to your remote repository.
Submission
Once you have completed the exercise, you will need to submit your commit history to show that you have resolved the merge conflict.
If you are using GitHub, navigate to your repository, click on the "Commits" link, shown below.

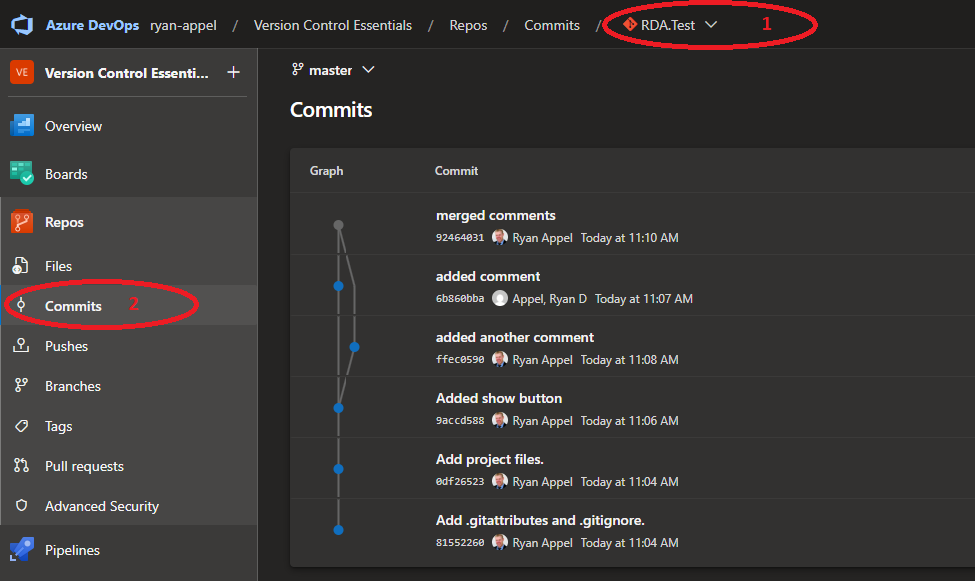
If you are using Azure DevOps, make sure that you have the correct repository selected, then click on the "Commits" link in the left-hand menu, as shown below.
Once you have the commit history open, copy the URL from your browser's address bar and paste it into the submission box below.